

Anyway, onto today's tutorial.
I have been producing watercolour caricatures for over thirty years now. Admittedly it hasn't been my primary source of income, but over the years I must've produced a couple of hundred private commissions.
I've always found that they make excellent Birthday, Christmas, Wedding and retirement gifts
This caricature was a retirement gift for a chap called Kevin, who works for a customer of mine, the Dalesman Magazine
Now for those of you who have seen my other tutorials on a variety of themes, you will know how I like to break the process down into stages--- just in case there are any of you out there who may just want to have a crack at doing one themselves.
So if you're not too bored of seeing all these stages by now, then sit back and lets go through it again.
A caricature for Kevin

Right. First off I get the photo sent to me along with as much information about the study as is possible. In Kevin's case he was an avid walker of the Yorkshire Dales.
He also liked taking groups out, loved his football, wrote a supplement for the Dalesman called 'Down out Way and was a very keen gardener.
Armed with this I produced a rough of Kevin and the scene I thought would work well, and emailed it to the client. They loved it and gave me the green light.
 Normally the first stage I show in these tutorials is the pencil art and the masking, but for some reason, best known to the God of cartoonists, I either forgot it, or misplaced it...either is more possible than you would think. Sometimes the thing will even dissappear while I'm using it as reference: don't ask, I really don't know the answer.
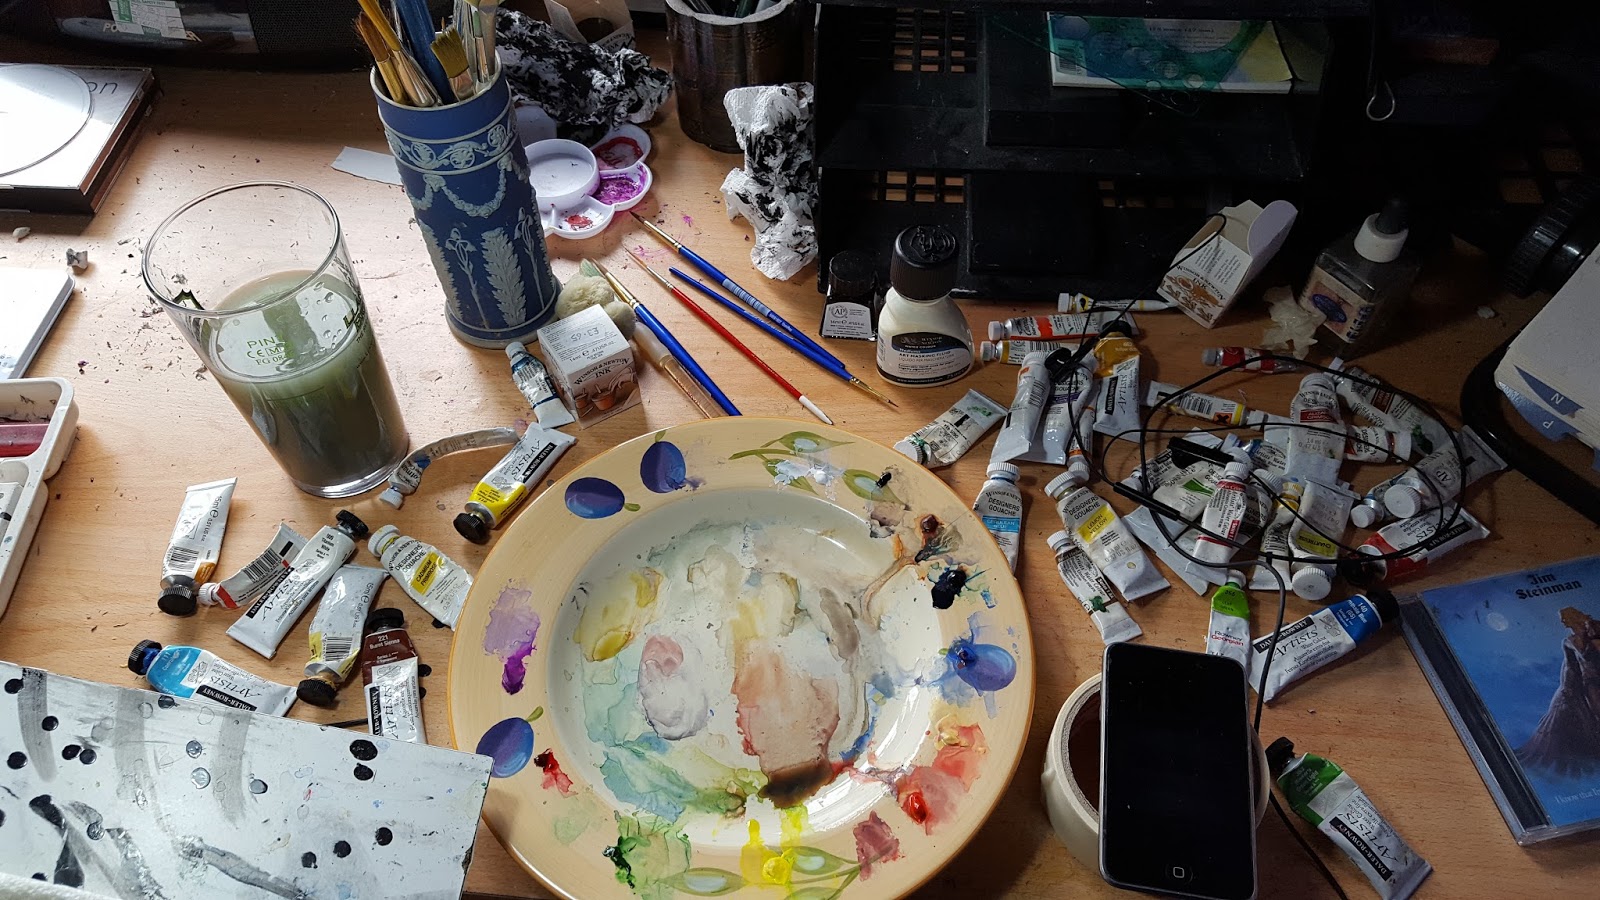
But here's a picture of my rather messy watercolour plate, which, for some reason, I did remember to take a photo of. Obviously the God of messy watercolour plates was on the ball that day and is probably the one responsible for the poking sensation in my ribs that only went away when I picked up the camera..
But in the absence of a photo here's what I did: I pencilled the art onto a heavy watercolour paper (you need a heavy paper so as to soak up the large washes without too much crinkling), then I masked out the main character and anything else I didn't want to have to fiddle around when putting the background washes down.
NOW we can move onto the pictures again.

I mixed a pale blue wash using Cobalt blue and the lightest dab of ultramarine for depth, wet the paper with clean water, allowed it to dry to a sheen then placed the blue to about three quarters of the way down to the horizon. (note: when working on a wet surface, the colour you chose will be a lot lighter as its being diluted. Watercolour paint always dries lighter anyway, but when being placed over a damp surface it dries EVEN lighter...so be aware and compensate on your mixes)
I then mixed a little bright orange and cadmium red and watered it down and placed that beneath the almost dry blue. This little touch of pinky red gave the painting a nice, fresh, cool morning feel to the painting.
For this picture, and I've no idea why it was so important, I painted all the flesh tones in, all the way up to their final stages.

Because I was obviously in the zone, and wished to complete every stage of the painting to its end before moving onto the next bit---something I never normally do--- I just plodded on; finishing skin tones, grass, walls, fields... well you get the picture; sometimes it seems the only discipline I have is the lack of one.

I guess the beauty of having completed each stage so thoroughly is that when it came to selecting the colour of the characters, it became really easy to see what would work in making them pop out against the rest of the painting.
All in all, I was really very happy with the overall balance of composition and colour for this picture, and it remains, to this day, one of my most favourite caricature paintings.

Once I feel I've finished the painting I walk away---have a cup of tea, go for a walk, cook some food---anything that clears my mind for about an hour. Then I come back with fresh eyes and see what I may have missed. In this case it was the extra dark shadows.

Then it's just a case of inking the characters, lettering where needed, tear the masking tape off to reveal those nice, crisp lines, package it up and dispatching it to the customer.
Then onto the next job.
I hope this, like all my tutorials help you in some way, or just entertain. That said, I hope to see you all back here soon on the Diary of a Cartoonist & Writer.
If you like what you see, and want to see more, then please sign up to my email list and have every blog notification sent direct to your email box, assuring that you'll never miss a single post ever again.
I sincerely hope you enjoyed this post. If you did then please share it like a demented sharing person and keep coming back for more of the same, and a whole lot besides.


No comments:
Post a Comment
Feel free to leave a comment